Mastering the Grind: The Unbeatable Stardew Valley Farm Setup
Popular Now
 League of Legends
 Genshin Impact
 Free Fire
 Geometry Dash
 The Legend of Zelda
 EA SPORT FC 25
 Poppy Playtime
 Auto X Drift Racing 3
 Sonic the Hedgehog™ Classic
 Grand Theft Auto V

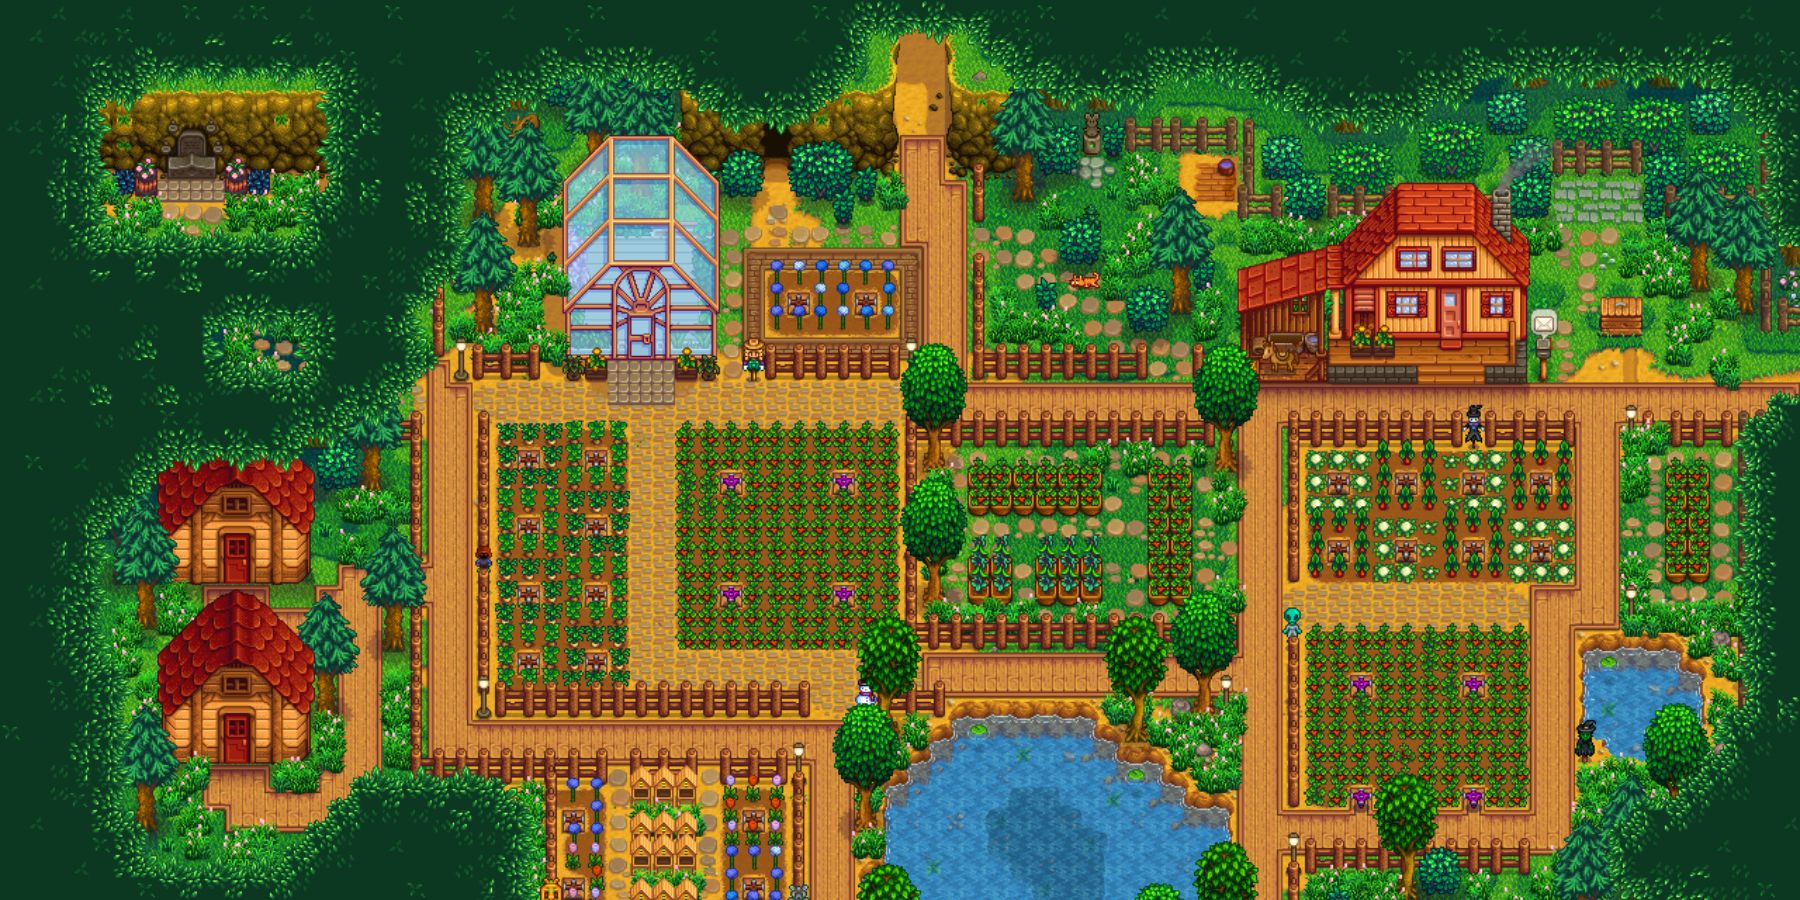
For every farmer in Stardew Valley, the quest for the “perfect” farm layout is a constant journey. It’s a delicate balance between aesthetics, efficiency, and a desire to make the most of every in-game day. While there are countless beautiful and creative farm designs out there, for the player who wants to achieve maximum profit with minimal effort, there is a blueprint that is virtually unbeatable. This isn’t a design for the casual player; it’s a meticulously planned, late-game layout that focuses on the highest-yield crops, the most profitable artisan goods, and a level of automation that will make your daily chores a breeze. This isn’t just a farm; it’s a gold-generating factory that will make you a millionaire in no time.
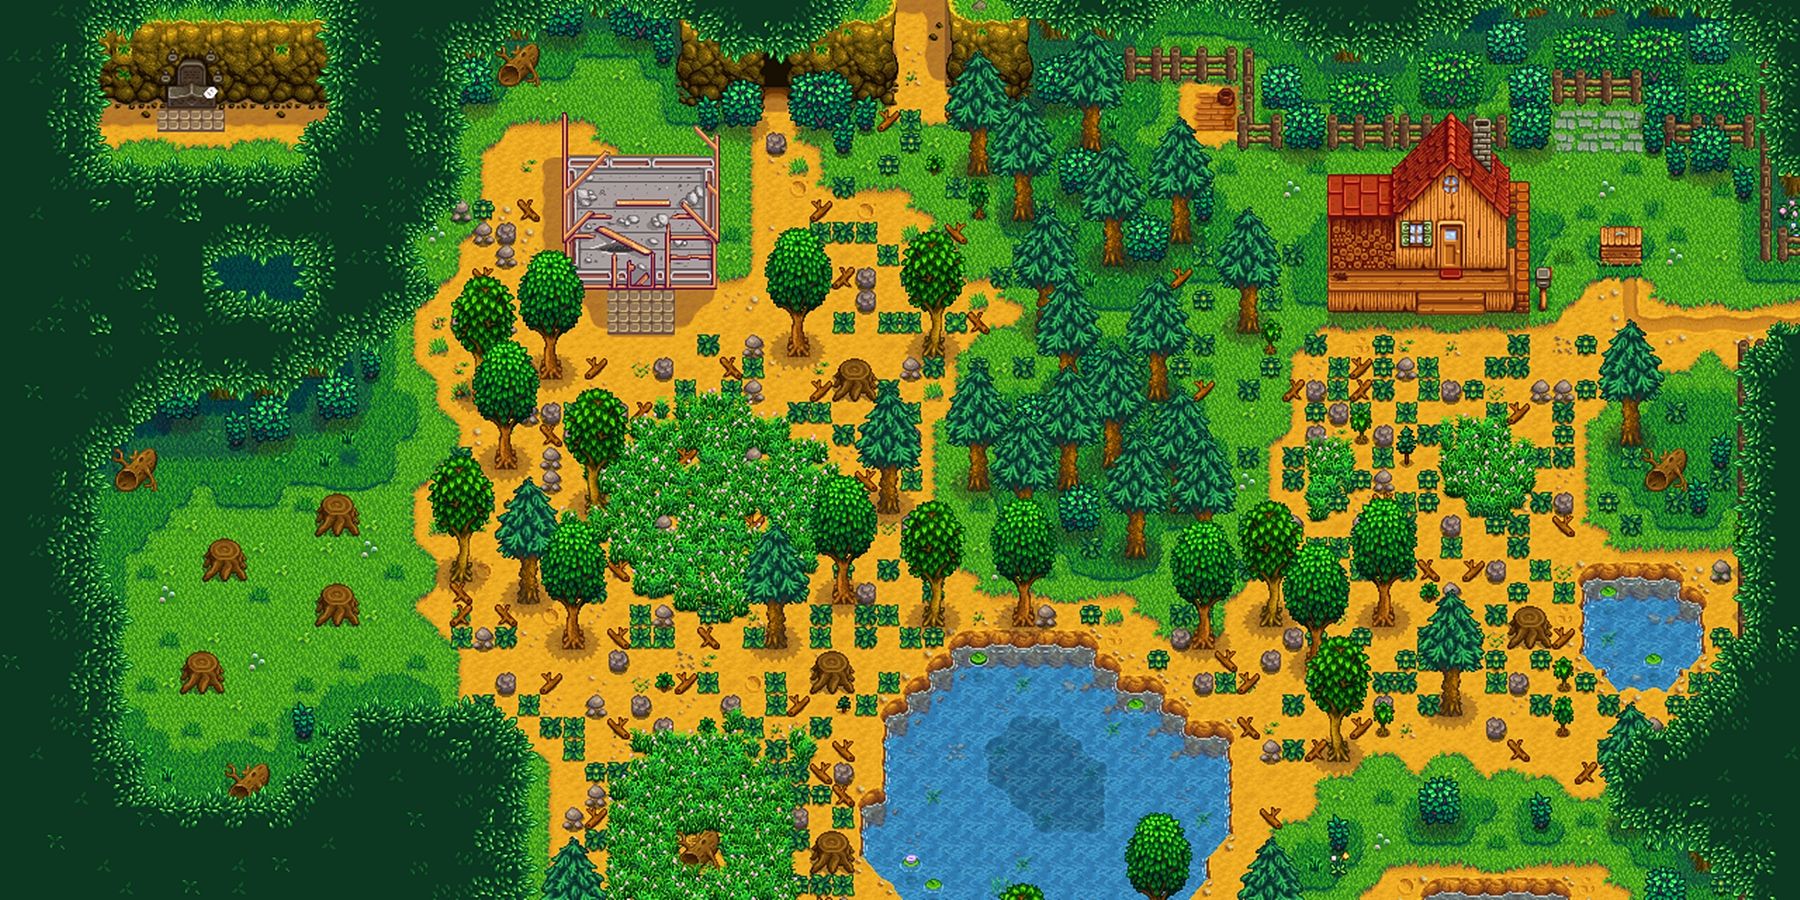
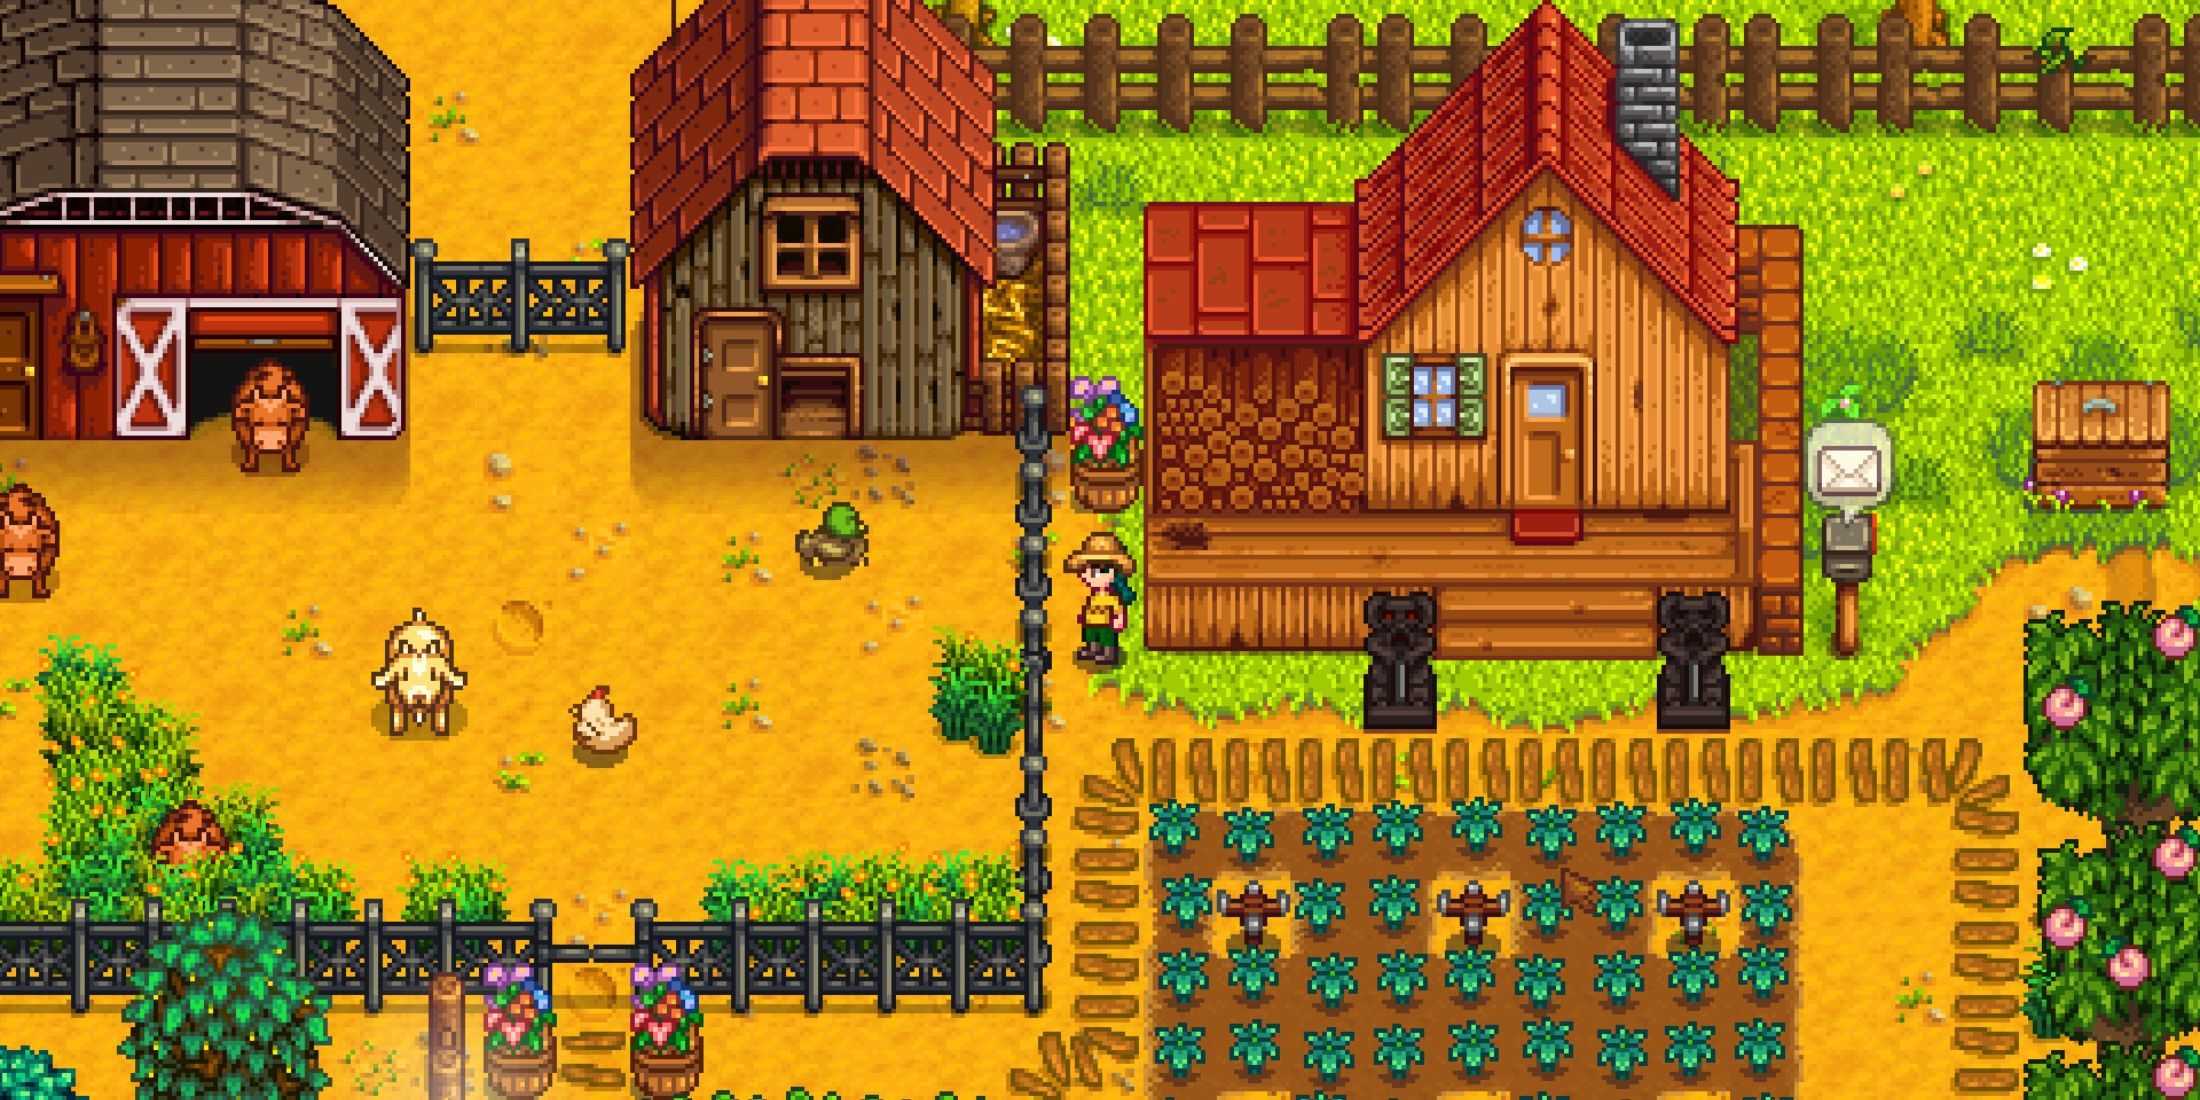
The foundation of this unbeatable setup is a combination of two key elements: the Standard Farm layout and a heavy emphasis on Artisan Goods. The Standard Farm, with its massive, open tillable space, offers the most flexibility for a truly optimized layout. It is the blank canvas for a masterpiece of efficiency. While other farm types have their own unique perks—the Forest Farm with its hardwood stumps or the Four Corners Farm with its built-in quarry—the Standard Farm’s sheer size allows for the most lucrative and self-sustaining operation. By focusing on a few key crops and a massive number of processing machines, you can turn a humble farm into a money-making machine that will put JojaMart to shame.
 The Artisan Goods Empire: Ancient Fruit and Starfruit Wine
The core of this farm’s success lies in a specific, high-profit crop: Ancient Fruit. Once you acquire the Ancient Seed, you can grow a crop that continuously produces fruit throughout the Spring, Summer, and Fall. The real money, however, is made by turning this fruit into wine. A full farm covered in Ancient Fruit, with an accompanying massive cellar filled with kegs and casks, will generate a staggering amount of gold. A single Ancient Fruit wine sells for a base price of 1,650g, and with the “Artisan” profession, that value increases to 2,310g. By filling the Greenhouse and Ginger Island farm with Ancient Fruit as well, you can ensure a constant supply of the crop year-round. While Ancient Fruit is the most profitable crop in the long run, Starfruit is a close second. It’s the king of Summer crops and, when turned into wine, is a fantastic source of income, especially while you’re still building up your Ancient Fruit empire.
To support this operation, you need a massive number of kegs. The most efficient way to do this is to build several sheds and fill them to the brim with kegs. You can place a single keg outside the shed as a visual timer, allowing you to know when all the kegs inside are finished without having to constantly go in and out. This simple trick saves a massive amount of in-game time. To further automate the process, you should invest heavily in Junimo Huts. These huts, which are unlocked after completing the Wizard’s quest line, will have little Junimo creatures harvest your crops for you. By strategically placing these huts in the center of your fields, you can ensure that your crops are harvested automatically, freeing up your time to focus on other tasks, like tending to your animals or mining in the Skull Cavern.
 Beyond the Crops: The Iridium Quarry and the Diamond Factory
While crops are the foundation of this unbeatable farm, the late-game is where the true wealth is generated. To maximize your profit, you should also have a dedicated section of your farm for other high-value goods. One of the most profitable is Iridium. By investing in a large number of Crystalariums and placing a single diamond in each, you can create a daily stream of diamonds that sell for a cool 750g a piece. A shed filled with these machines can generate a passive income that will quickly add up to millions. You should also have a well-organized area for your other high-value production buildings, such as your Furnaces for smelting ore and your Mayonnaise Machines for processing eggs. The key to this is organization; having all your production buildings in a central location, with easy access to your farmhouse and shipping box, will save you a massive amount of time each day.
Another crucial part of this “unbeatable” setup is the strategic use of your farm’s terrain. The Standard Farm has a large area around the farmhouse that is perfect for a Bee House Bonanza. By placing a row of Bee Houses next to a field of flowers, you can create a steady income of high-value honey, with the Fairy Rose honey being the most profitable. You can also utilize the quarry for its daily-spawning resources, and once you have a massive amount of Crystalariums, you can use the quarry to set up a diamond factory. The entire layout is a testament to the game’s depth and the endless possibilities for customization. While this farm setup may not be the prettiest, it is a masterclass in efficiency and a clear path to achieving perfection in Stardew Valley.


